The Ultimate Guide to Files for Laser Engraving: Mastering Precision and Compatibility
Laser engraving machines have revolutionized industries ranging from manufacturing to personal crafts. However, the quality of your final product depends heavily on one critical element: files for laser engraving. Whether you’re a hobbyist or a professional, understanding how to prepare, optimize, and use these files is essential for achieving flawless results. This article dives deep into the intricacies of files for laser engraving, ensuring your projects meet the highest standards of precision and creativity.
Why Are Files for Laser Engraving So Important?
Laser engravers rely on digital instructions to carve, etch, or mark materials. These instructions are embedded in files for laser engraving, which dictate everything from design dimensions to engraving depth. A poorly formatted file can lead to misaligned engravings, incomplete designs, or even damage to the machine. For example, using a low-resolution image might result in jagged edges, while incorrect vector paths could cause the laser to skip critical details. Always prioritize high-quality, compatible files to ensure your laser engraver operates efficiently.
Common File Formats for Laser Engraving Machines
Not all file formats are created equal. Here’s a breakdown of the most widely used formats for laser engraving:
- SVG (Scalable Vector Graphics): Ideal for vector-based designs, SVG files maintain clarity at any scale, making them perfect for intricate patterns.
- DXF (Drawing Exchange Format): A universal format for CAD software, DXF files are excellent for technical drawings and industrial applications.
- JPEG/PNG: Raster formats like JPEG and PNG are suitable for photo engraving but require high resolution (300+ DPI) to avoid pixelation.
- AI (Adobe Illustrator): Preferred by designers, AI files retain layers and editable vectors, offering flexibility during the engraving process.
Pro Tip: Always convert raster images to vector formats when possible. This ensures smoother edges and reduces file size, optimizing performance for your files for laser engraving.
Preparing Files for Laser Engraving: Best Practices
Creating the perfect files for laser engraving involves more than just choosing the right format. Follow these steps to maximize accuracy:
- Set the Correct Resolution: For raster images, 300 DPI is the minimum. Vector files should have clean, closed paths.
- Use Layers Wisely: Separate engraving, cutting, and etching into different layers to control laser intensity.
- Check Dimensions: Ensure your design matches the material size. Scaling post-export can distort details.
- Test with a Preview: Most laser software includes a preview mode. Use it to spot errors before engraving.
Question: What happens if you ignore these preparation steps? Answer: You risk wasting materials, time, and damaging your machine’s reputation for reliability.
Software Solutions for Optimizing Files for Laser Engraving
The right software bridges the gap between your design and the laser engraver. Popular options include:
- LightBurn: A user-friendly tool for editing vectors, adjusting power settings, and simulating engraving results.
- CorelDRAW: Perfect for converting raster to vector and fine-tuning complex designs.
- Inkscape (Free): An open-source alternative for creating and editing SVG files.
These programs ensure your files for laser engraving are machine-ready. For instance, LightBurn’s “Trace Image” feature can automatically convert low-resolution logos into crisp vectors. Remember: Software updates often include new compatibility features, so keep your tools current.
Material-Specific Considerations for Files
Different materials react uniquely to laser engraving. Your files for laser engraving must account for these variations:
- Wood: Adjust line thickness to avoid burning through softwoods.
- Metal: Use high-contrast designs, as metals require higher power settings.
- Acrylic: Opt for vector files to achieve smooth, polished edges.
Question: Can the same file work for multiple materials? Answer: Technically yes, but you’ll need to tweak speed, power, and focus settings in the laser software to avoid subpar results.
Troubleshooting Common File Issues
Even with perfect preparation, issues can arise. Here’s how to solve them:
- Blurry Engravings: Upgrade raster files to 600 DPI or switch to vector formats.
- Incomplete Designs: Check for open paths in vector files and ensure all elements are connected.
- Overburning: Reduce laser power or increase speed in the software settings.
Pro Tip: Maintain a log of successful settings for different materials and designs. This speeds up troubleshooting and ensures consistency across projects.
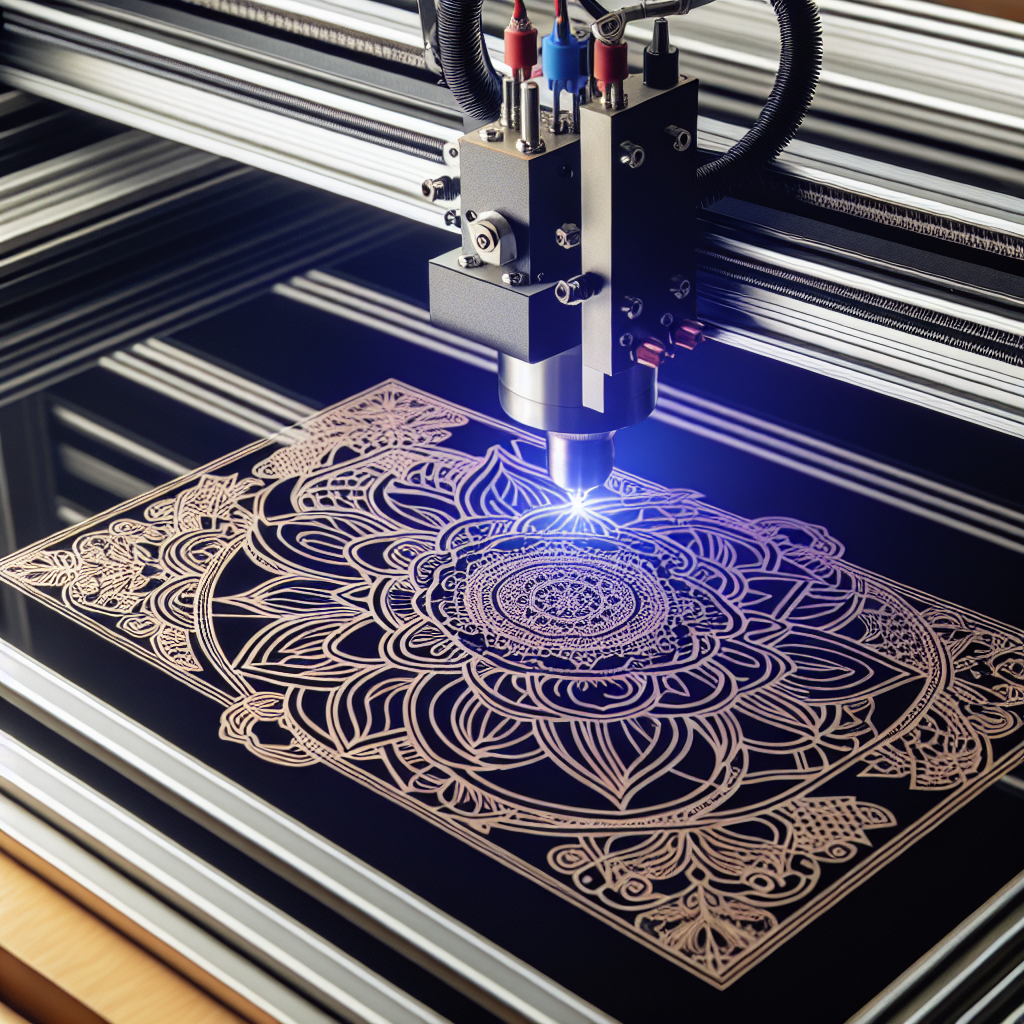
Why Choose the xTool F1 for Handling Files for Laser Engraving?
Not all laser engravers are equal. The xTool Laser Engraver Hawk F1 stands out with its dual-laser system (10W IR and 2W 455nm blue diode), which handles diverse files for laser engraving with ease. Whether you’re engraving photos on glass or cutting intricate metal patterns, the F1’s precision and speed ensure your files translate into stunning results. Its compatibility with SVG, DXF, and PNG files makes it a versatile choice for professionals and beginners alike.
Future Trends in Files for Laser Engraving
As technology evolves, so do files for laser engraving. Emerging trends include:
- AI-Powered File Optimization: Machine learning algorithms auto-correct design flaws.
- 3D Engraving Files: Depth maps and grayscale images enable 3D texture effects.
- Cloud-Based Collaboration: Teams can edit and share files in real-time, streamlining workflows.
Question: How can you stay ahead of these trends? Answer: Regularly update your software, attend industry webinars, and experiment with new file types on machines like the xTool F1.
Final Thoughts: Mastering Files for Laser Engraving
Perfecting files for laser engraving is a blend of art and science. By understanding formats, optimizing designs, and leveraging advanced tools like the xTool F1, you’ll unlock limitless creative potential. Ready to elevate your projects? Start by revisiting your file preparation process today!
Question: What’s the first step you’ll take to improve your laser engraving files? Share your thoughts below!